Maintaining a healthy living environment involves addressing mold, an often-overlooked threat that can cause significant health issues and property damage. Mold inspection and testing are important for uncovering hidden mold problems and evaluating their severity before they develop into more serious issues. Whether addressing an existing mold issue or taking steps to prevent one, recognizing the critical role of thorough mold inspection and testing is important for protecting your home and health.
The Importance of Mold Inspection and Testing
Mold inspection and testing are important for identifying hidden mold problems lurking in your apartment or condo. Assessing potential health risks protects yourself and your family from serious issues. Keeping your building mold-free helps maintain its value over time.
Identifying Hidden Mold Problems
Many building owners underestimate the potential for hidden mold problems in their properties. Mold often grows in areas that aren’t easily visible, such as behind walls, carpets, or attics. This is why a thorough mold inspection is important.
Consider scheduling professional mold inspections if you suspect mold but can’t see it. These experts use advanced tools to detect moisture and mold spores, giving you a clearer picture of your indoor environment.
Ignoring hidden mold can lead to serious issues, including compromised indoor air quality. Mold can release spores into the air, circulating throughout your home and affecting everyone’s health. You mightn’t notice a problem until it becomes severe, so proactive measures are important.

Assessing Health Risks
Hidden mold problems can pose significant health risks to you and your family. Mold exposure can lead to a range of health issues, from allergic reactions and respiratory problems to more severe conditions, especially in vulnerable individuals like children and the elderly.
When you suspect mold in your home, don’t wait for symptoms to appear. Take proactive steps to assess potential health risks through environmental testing. This process identifies the type and concentration of mold present, allowing you to understand its danger level.
Ignoring hidden mold can lead to chronic health issues, reduced quality of life, and even long-term complications. Investing in mold inspection and environmental testing means you’re not just protecting your building but safeguarding your tenant’s health.
Protecting Property Value
A thorough mold inspection and testing can significantly protect your property’s value. As property owners, you’re likely aware that mold issues can lead to extensive damage and costly repairs. Ignoring these problems can jeopardize your living conditions and diminish the resale value of your home.
When comparing mold inspection vs. neglecting this important step, the costs involved in a professional inspection are minimal compared to the potential financial fallout from mold-related damages.
Mold inspection costs typically range from a few hundred to a thousand dollars, depending on the size of your property and the extent of the inspection. This upfront investment can save you thousands in future repairs and maintain your property’s market appeal.
The Mold Inspection Process
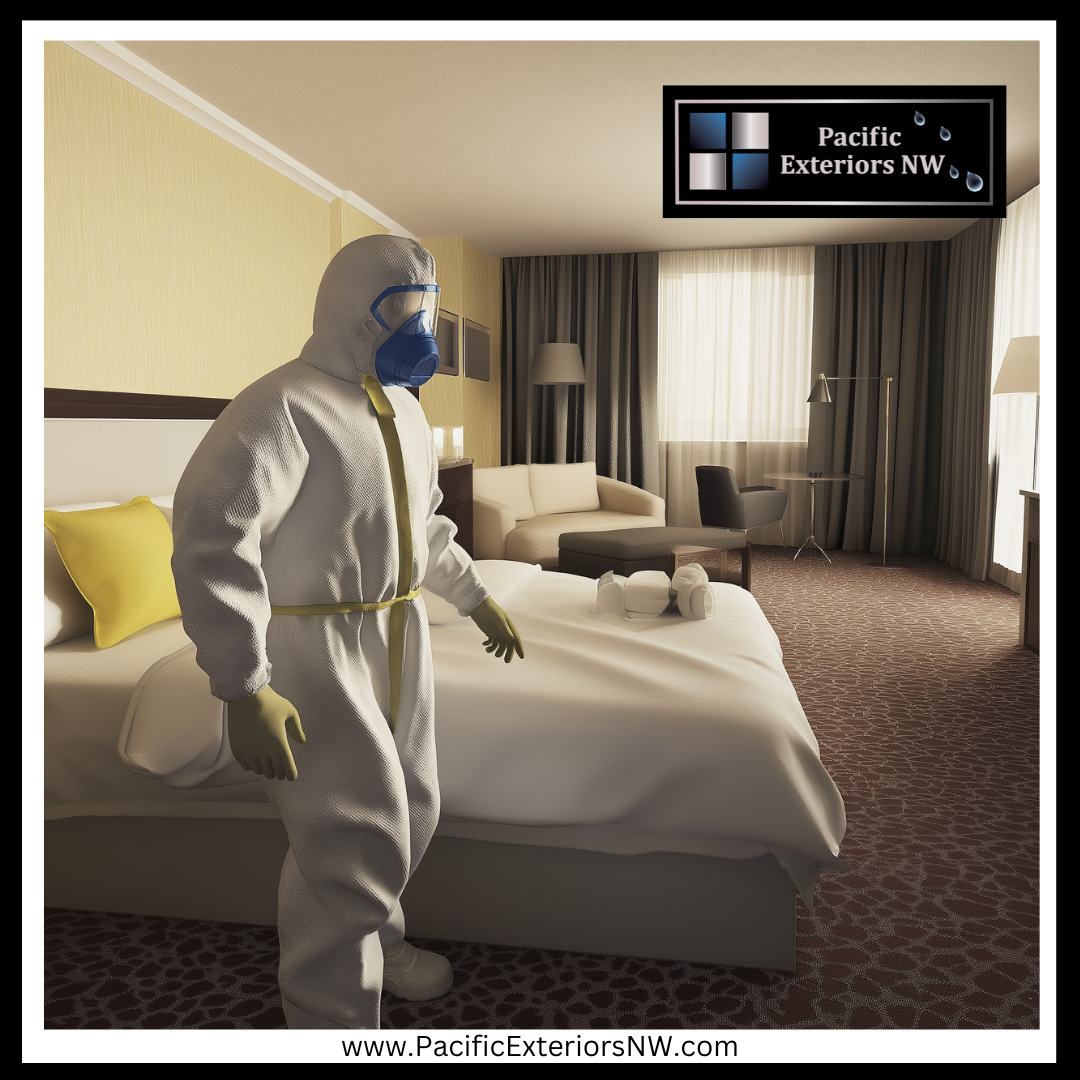
The mold inspection process begins with a visual inspection of your property, followed by sampling and testing to uncover hidden mold issues.
Initial Visual Inspection
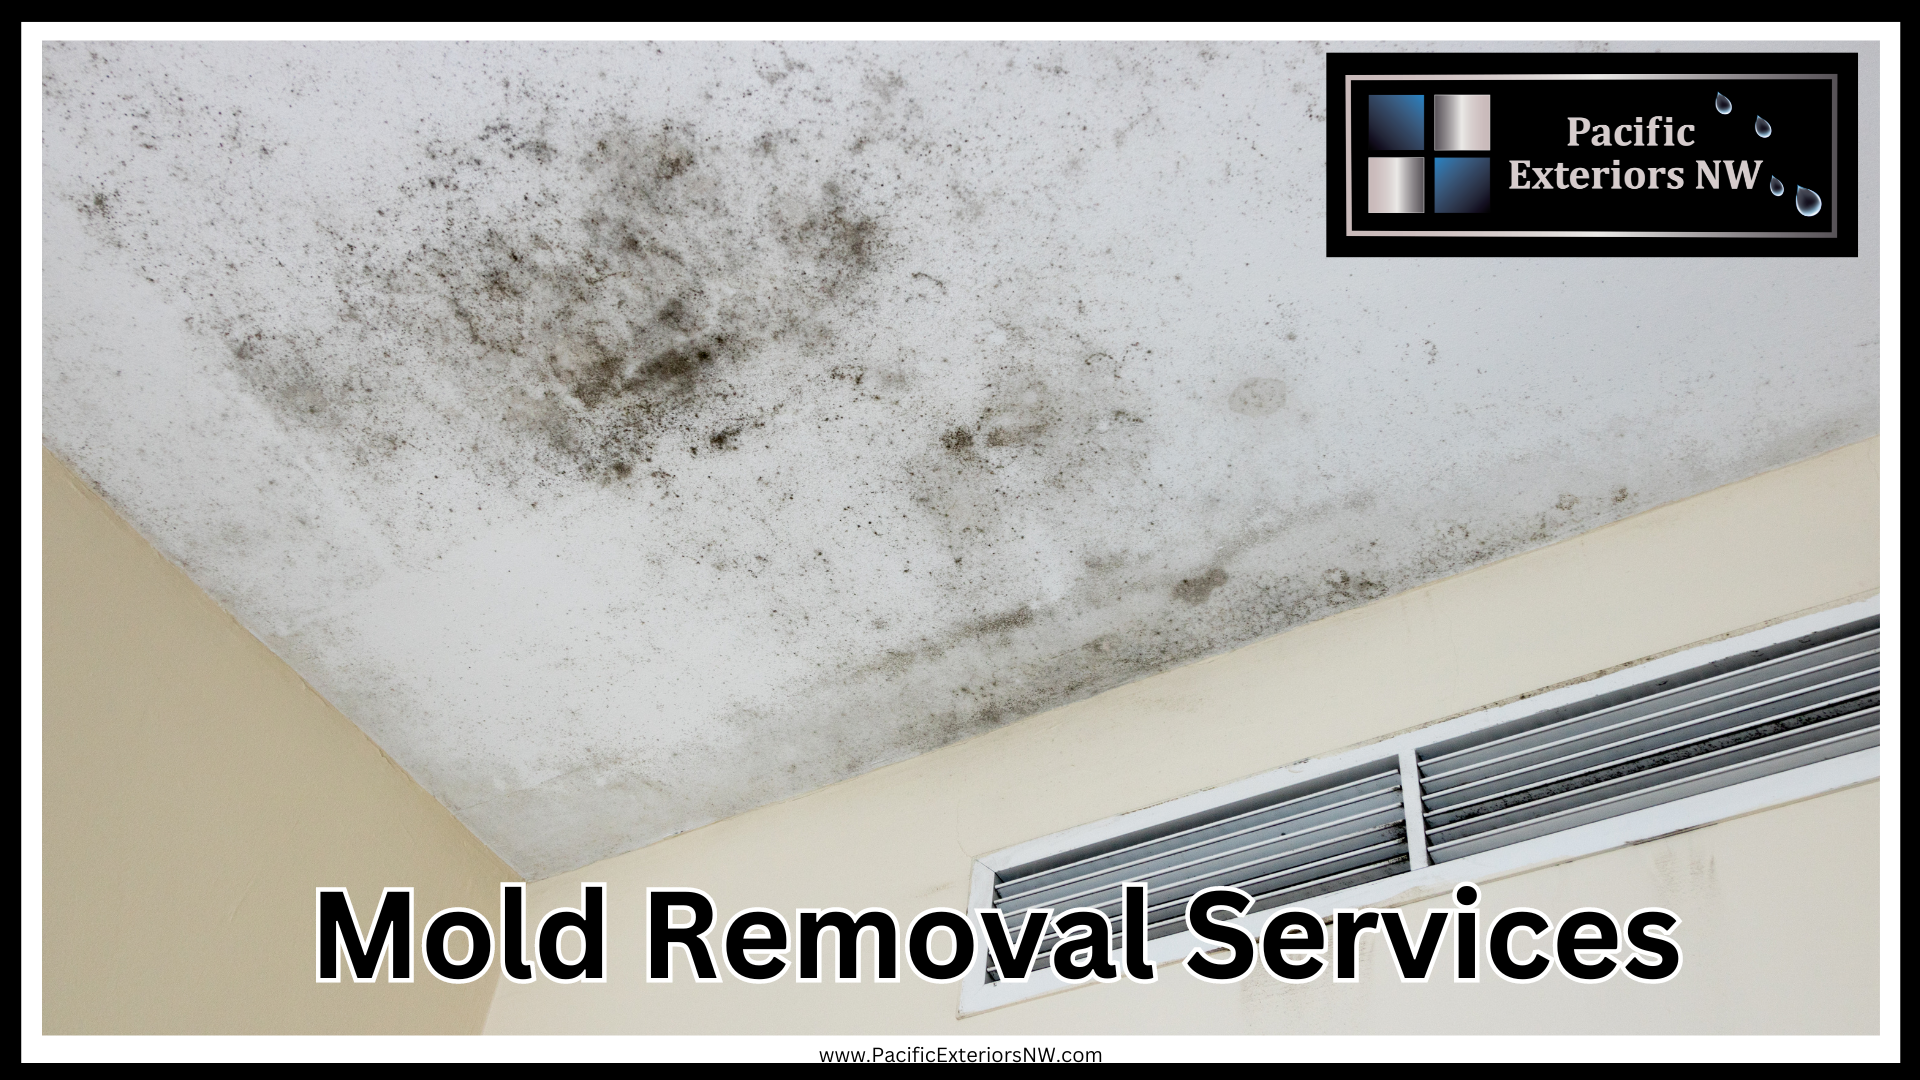
An effective mold inspection starts with an initial visual assessment of your property. During this process, certified mold inspectors look for signs of mold growth, including discoloration on walls, ceilings, or floors. They will look for musty odors, water stains, and areas with excessive moisture, which are common signs of mold presence.
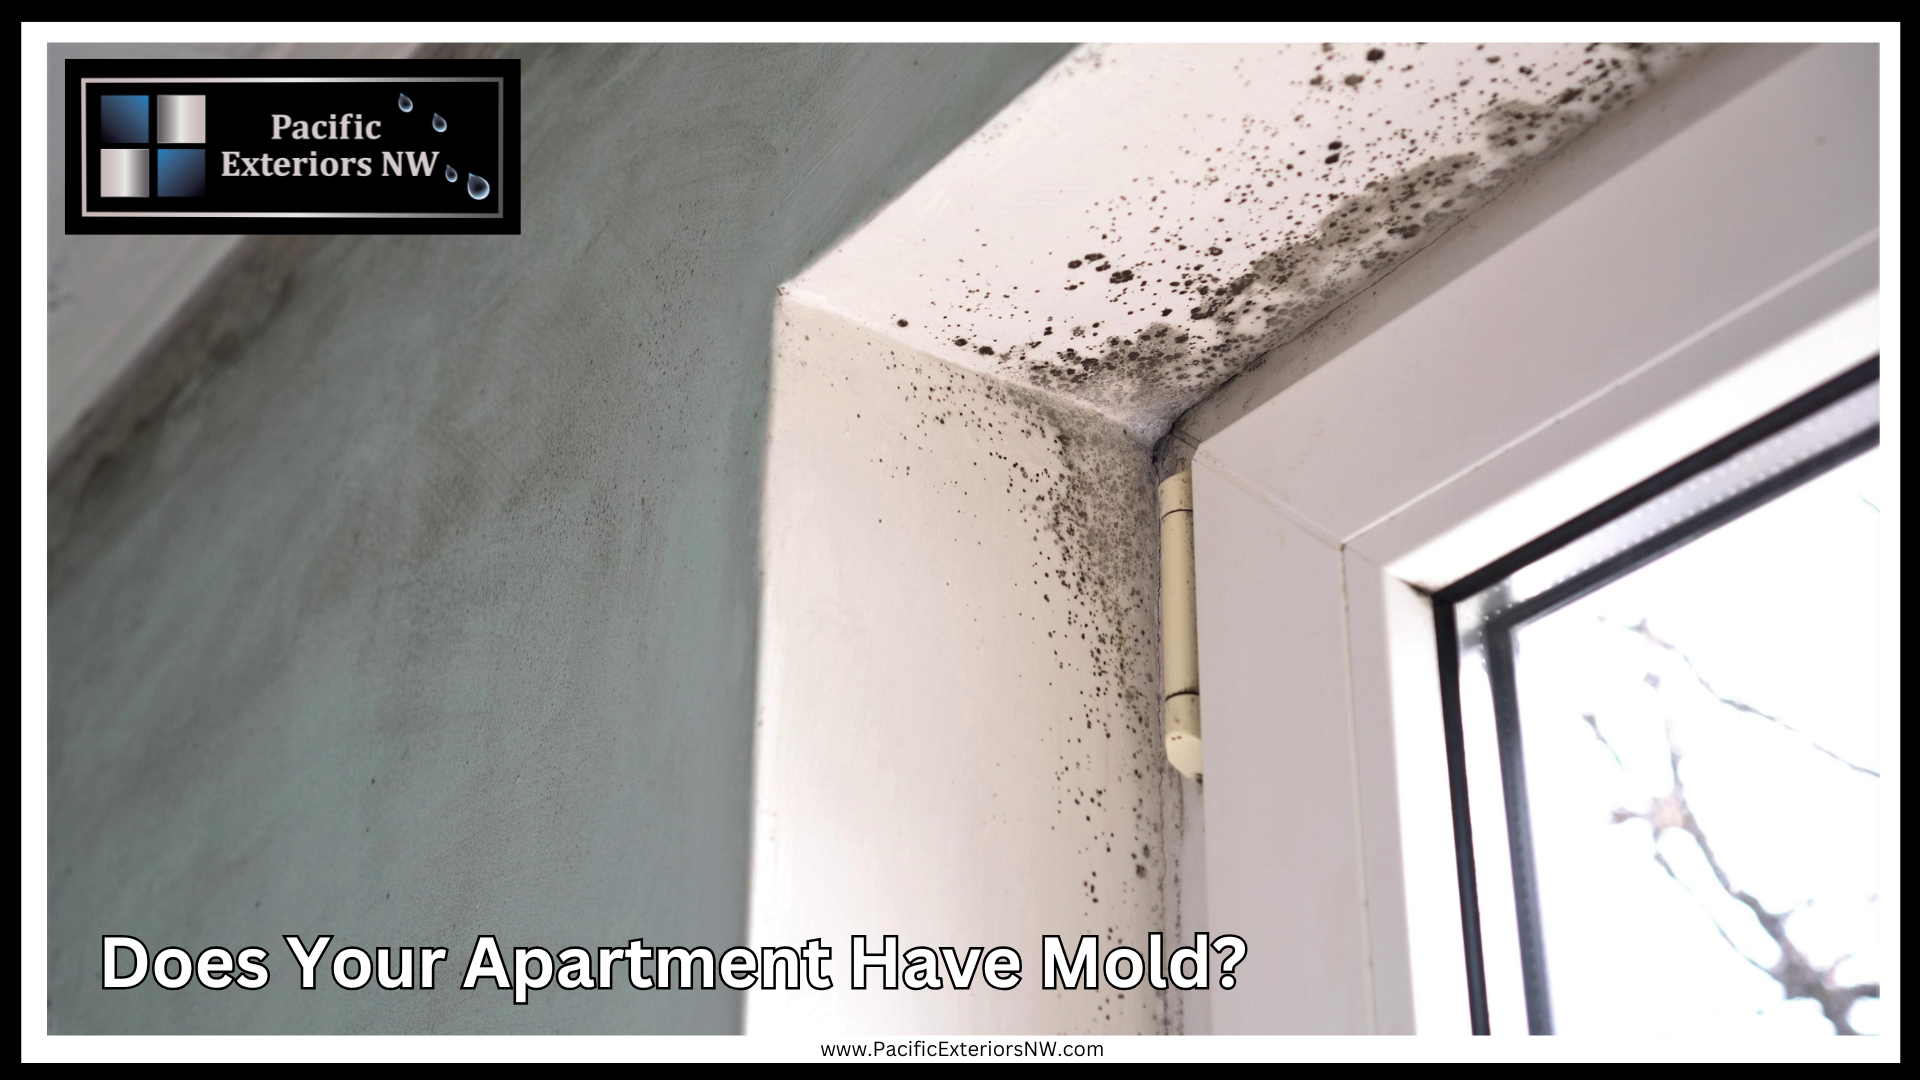
As you walk through your property, pay attention to dark or damp areas, especially basements, kitchens, and bathrooms. Inspect windows, doors, and plumbing fixtures, as these spots are often prone to leaks and mold development. It’s important to observe any visible mold growth, which can be black, green, or white.
This initial visual inspection sets the stage for the next steps in the mold inspection process. If the certified mold inspectors identify potential mold issues, they’ll recommend further testing or sampling to determine the type and extent of the problem.
Sampling and Testing Procedures
Once potential mold issues are identified during the visual inspection, sampling, and testing procedures become important to assess the situation accurately. These steps help you determine the extent of the problem and ensure air quality testing is conducted properly. Here’s what you need to know about the sampling and testing process:
- Air Quality Testing: Collect air samples from different locations within the property to analyze mold spores in the environment.
- Surface Sampling: Use swabs or tape lifts on surfaces suspected of mold growth. This helps identify the type of mold present.
- Bulk Sampling: If mold growth is visible, you may need to take a piece of the material for lab analysis. This gives you detailed information about the contamination.
- Moisture Assessment: Utilize moisture meters to find hidden moisture sources promoting mold growth.
Interpreting Inspection Results
Start by checking the type of mold identified. Some molds are harmless, while others can pose serious health risks. If you used mold testing kits, ensure you compare your results with established safety standards.
Look at the concentration levels reported. High concentrations of mold indicate a more significant problem that requires immediate attention. Pay close attention to areas where moisture is present, as these are breeding grounds for mold growth.
If the inspection reveals mold presence, consider the extent of the contamination. It’s important to assess whether it’s localized or widespread throughout your property. Localized issues might be manageable with DIY solutions, while widespread problems typically necessitate professional intervention.
Mold Testing Methods
To identify mold effectively, it’s important to understand the different testing methods: surface, air, and bulk testing. Each provides unique insights into mold presence and levels, helping you assess your environment accurately.
Surface Testing
Surface testing is a vital step in identifying mold presence in your environment. When you suspect mold, a mold inspector typically starts by collecting surface samples from areas with visible growth or potential contamination. This method helps determine the type and concentration of mold spores present.
You’ll often see surface samples from walls, ceilings, and furniture. The inspector gathers these samples using swabs or tape and sends them to a lab for analysis. The results provide important insights, allowing you to understand the extent of the problem and inform your next steps.
Air Testing
Air testing is vital for assessing mold levels in your indoor environment. This process involves collecting air samples to measure the concentration of mold spores present. It’s particularly useful when you suspect indoor mold growth but can’t see visible signs of mold. Conducting an air test helps you identify potential problem areas and understand the air quality in your home.
When testing for mold, air samples are typically taken from different locations, especially in areas with suspected moisture issues. The results can reveal the presence and types of mold spores, helping you determine if they pose a health hazard.
It’s important to know that outdoor air samples are often collected as a baseline for comparison. This way, you can determine if indoor mold levels are higher than outside.
Higher levels of mold spores in your air test indicate the need for prompt remediation to ensure a healthier indoor environment for you and your family.
Bulk Testing
Bulk testing is an effective way to assess materials suspected of harboring mold. This method involves collecting samples from surfaces like drywall, wood, or insulation, allowing you to analyze them in a lab for mold presence. Directly examining the materials provides important insights into the extent of mold contamination.
In mold inspection sciences, bulk testing plays a significant role in inspections and testing. It’s particularly useful when air testing results are inconclusive or when visible mold is present but requires verification. You’ll find that bulk testing can identify specific types of mold, helping you tailor remediation efforts more effectively.
When you decide to conduct bulk testing, ensure you follow proper protocols to avoid cross-contamination. Collect samples using sterile tools and seal them in appropriate containers for transport to the laboratory. The lab will then analyze the samples, providing detailed results that can guide your mold remediation strategy.
Tools and Equipment Used in Mold Inspection
Using the right tools is important for accurate mold inspections. Moisture meters, infrared cameras, and sampling devices like swabs and tapes are important for effective assessments. Each tool plays a key role in ensuring precise results.
Moisture Meters
Moisture meters are important tools in mold inspection. They accurately measure the moisture content in a range of materials, allowing you to identify areas prone to mold growth, even if no visible mold is present. These devices help determine if moisture levels are conducive to mold development, typically when the moisture content exceeds 20%.
There are two main types of moisture meters: pin-type and pinless. Pin-type moisture meters use metal probes that penetrate the material, giving you a precise reading of the moisture content.
Pinless meters scan the surface, providing a non-invasive way to assess moisture in materials like drywall and wood.
It’s important to take multiple readings in different areas during the mold inspection to understand moisture distribution. Remember that high moisture levels indicate potential mold issues, even if you don’t see any visible mold. Utilizing a moisture meter allows you to effectively assess the risk of mold growth and take the necessary steps to mitigate any potential problems.
Infrared Cameras
Infrared cameras are invaluable tools in mold inspection, as they help detect hidden moisture and temperature differences within building materials. During a visual inspection, you mightn’t notice signs of moisture accumulation, but infrared technology reveals what the naked eye can’t see. This capability allows you to pinpoint areas at risk for mold growth, making your mold testing efforts more effective.
An infrared camera captures thermal images that highlight temperature variations. These variations can indicate whether a wall or ceiling has absorbed moisture, which is important for assessing potential mold issues. Identifying these problem areas early allows you to take proactive measures to prevent mold from developing.
Incorporating infrared cameras into your mold inspection toolkit improves your assessment process. They save time and provide detailed data that supports your findings. This evidence can be invaluable when discussing remediation plans with homeowners or property managers. Using infrared cameras ensures you’re equipped to handle mold inspections with high accuracy and efficiency, setting the stage for successful mold testing and remediation efforts.
Sampling Devices (Swabs, Tapes, etc.)
Sampling devices like swabs and tapes are necessary tools in mold inspection. They allow you to collect samples directly from surfaces suspected of harboring mold. Using these devices effectively can significantly influence mold testing results and ultimately impact inspection costs.
Here are four common sampling devices you’ll want to consider:
- Swabs: Great for collecting small samples from tight or hard-to-reach areas. They’re ideal for surfaces like walls or ceilings and are used in surface tests to ensure thorough analysis.
- Tape lifts: These involve using adhesive tape to capture mold spores from surfaces. They’re effective on flat surfaces and provide a clear sample for analysis.
- Bulk samples: Cutting out a small piece of material (like drywall) helps collect a larger sample, ensuring a more comprehensive analysis.
- Air sampling tools: These devices capture airborne spores, giving insight into mold presence in the environment.
Professional Mold Inspection vs DIY
Deciding between a professional mold inspection and a DIY approach can be challenging. Professionals bring expertise and thoroughness, while DIY kits are often more cost-effective but may have limitations. We’ll weigh the benefits of each, compare costs, and consider the drawbacks of DIY methods.
Advantages of Professional Inspection
Professional mold inspectors have the right tools and expertise to conduct thorough mold inspections and testing. They know where to look for hidden mold and can identify potential sources of moisture that you might overlook.
Another key benefit is the environmental risk assessment they provide. Professionals can evaluate air quality and determine the extent of mold contamination, which is important for your health and safety. They can guide you on remediation strategies tailored to your specific situation.
Professional mold inspectors can save you time and stress. Instead of guessing and potentially missing critical issues, they’ll deliver accurate results, allowing you to address problems quickly. Their services often include detailed reports, giving you a clear understanding of the situation and next steps.
Limitations of DIY Mold Testing Kits
DIY mold testing kits may seem convenient for homeowners looking to tackle mold issues, but they have significant limitations. One major drawback is the lack of comprehensive results. A DIY mold test typically only identifies the presence of mold without providing important information about the type or concentration. This means you might miss potential health risks associated with specific mold species.
These kits often require mold inspections and testing under ideal conditions, which isn’t realistic in many homes. Environmental factors like humidity, air circulation, and hidden mold growth can all skew your results. You might misinterpret the data without professional expertise, leading to ineffective remediation efforts.
DIY kits usually lack the thoroughness of a professional assessment. Professionals use advanced equipment and techniques to detect mold in hard-to-reach areas and assess the extent of contamination. They understand the necessary steps for proper remediation, ensuring the problem is fully resolved. Relying solely on a DIY mold test could leave you with lingering issues that pose health risks for you and your family.
Cost Comparison
Understanding the cost differences between professional mold inspections and DIY options can help you make an informed decision. When considering testing for mold, it’s important to weigh the benefits and drawbacks of each option. Below is a cost comparison that outlines the typical expenses you might encounter.
| Choice | Typical Cost | Important Factors |
|---|---|---|
| Professional Mold Inspection | $300 – $600 + | Expertise, thoroughness, lab analysis |
| DIY Mold Testing Kit | $20 – $100 | Limited accuracy, potential for user error |
| Mold Remediation (if needed) | $500 – $5,000 + | Depending on the severity, professional help is often required |
| Follow-up Testing | $100 – $300 | Ensures mold issue is resolved |
| Total Potential Cost | $500 – $5,600+ | Can escalate based on findings |
While the cost of mold inspections can seem high, investing in a professional service often saves money and health in the long run. DIY kits may appear cheaper initially but can lead to costly mistakes if mold isn’t correctly identified or addressed.
How to Choose a Mold Inspection and Testing Service
When selecting a mold inspection and testing service, prioritize providers with recognized credentials and certifications to guarantee their expertise. Asking the right questions about their experience and methods will help you assess their suitability.
Credentials and Certifications to Look For
Choosing a mold inspection and testing service can be overwhelming, but knowing what credentials and certifications to look for simplifies the process. Start by seeking professionals who are certified mold inspectors. This certification ensures they’ve undergone training and understand the complexities of mold inspections, including identification, assessment, and remediation.
Look for certifications from reputable organizations like the Institute of Inspection, Cleaning, and Restoration Certification (IICRC) or the American Council for Accredited Certification (ACAC). These credentials indicate expertise in mold assessment and environmental risk management.
Ensure the service provider has liability insurance, which protects you in case of any issues during the inspection process.
Checking if they use advanced technology, such as thermal imaging or air quality testing, can indicate their commitment to thorough inspections.
Questions to Ask Potential Service Providers
Finding the right mold inspection and testing service requires asking the right questions to ensure you make an informed choice. Start by inquiring about their experience with mold investigations. How many years of experience do they have in the business? Request references or testimonials from past clients to assess their reliability.
Find out what methods they use for testing. Do they employ a thorough inspection process? If tests are positive for mold, how do they report findings? You’ll want clear, concise information on the types of samples they collect and the laboratory they use for analysis.
It’s important to discuss their approach to mold removal. Are they certified in remediation practices? What steps do they take to ensure safety during the removal process?
Clarify their pricing structure. Are there hidden fees, or is everything included in a flat rate?
Understanding the Inspection and Testing Report
Look for specific details on mold testing results, including the types and levels of mold spores detected in your indoor air. High levels of certain mold spores can indicate a more severe problem that needs immediate attention.
Pay attention to the recommended actions. A good report will identify the presence of mold and recommend tailored remediation steps for your situation. This can range from simple cleaning to extensive removal processes.
It’s important to understand the testing methods used, as different techniques can yield varying results.
Don’t hesitate to ask your service provider for clarification on any part of the report that isn’t clear. Knowing how to interpret these findings will empower you to make the right choices for your home.
A clear understanding of the inspection and testing report helps ensure a healthier indoor environment free from mold risks.
Post-Inspection Actions
After your mold inspection, take prompt action based on the findings. Understand the mold remediation process and implement preventive measures to avoid recurrence. Regular maintenance and a consistent inspection schedule will help you stay ahead of future mold issues.
Mold Remediation Process
Once you’ve completed the mold inspection and identified the affected areas, it’s time to move forward with the mold remediation process. This process aims to eliminate mold growth and ensure your space is safe. Start by assessing the levels of mold in the affected areas. Depending on the severity, you may need professional help or can tackle minor issues yourself.
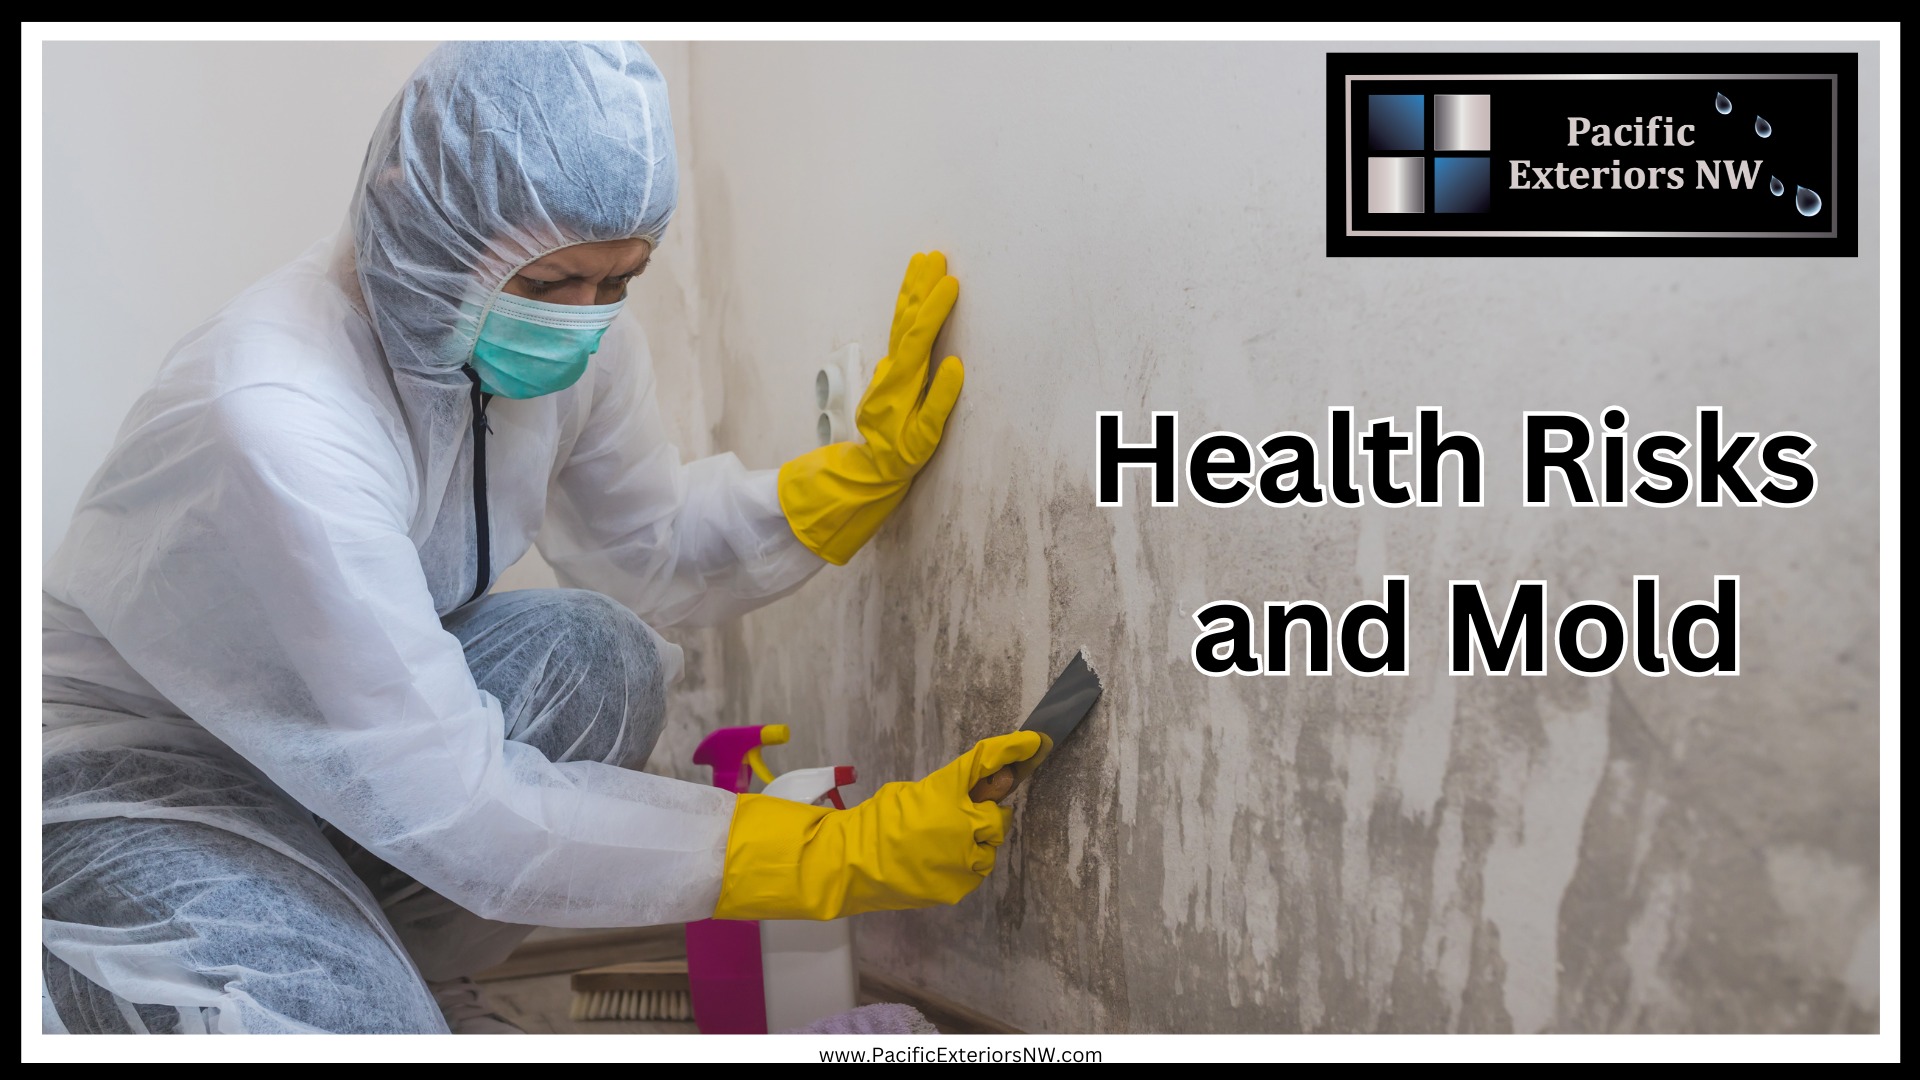
For mold remediations, begin by containing the area. Use plastic sheeting to prevent spores from dispersing. Wear protective gear, including gloves and masks, to safeguard yourself during the cleanup. Remove any contaminated materials, such as drywall or carpets, and seal them in plastic bags for disposal.
Clean surfaces with water and detergent or specialized mold removal products. Consider using a diluted bleach solution for tougher spots, but remember to ventilate the area properly. After cleaning, ensure everything is thoroughly dried to prevent mold from returning.
Preventive Measures to Keep Mold at Bay
Implementing preventive measures is important to keeping mold at bay after your inspection. Once you’ve identified any potential mold issues, it’s time to take action.
Start by ensuring proper ventilation in your home, especially in areas like bathrooms and kitchens where moisture accumulates. Use exhaust fans or keep windows open to improve airflow.
Control humidity levels. Aim for indoor humidity between 30% and 50%. If necessary, use dehumidifiers, especially in damp spaces like basements. Regularly check for leaks in pipes, roofs, and windows, which can contribute to mold growth. If you spot any moisture issues, fix them immediately.
It’s wise to keep your home clean and clutter-free. Regularly clean areas prone to moisture, such as shower curtains and carpets, to prevent mold from taking hold. If you notice any signs of mold in your home, address them promptly, as even small patches can quickly escalate into larger problems.
Regular Maintenance and Inspection Schedule
A regular maintenance and inspection schedule is key to keeping your building mold-free. Integrating routine mold inspections into your home care lets you catch potential problems before they escalate. Aim for at least biennial inspections, especially in areas prone to moisture, like basements and bathrooms.
During these inspections, look for signs of water damage, discoloration, or musty odors—these could indicate the presence of home mold. Maintaining proper ventilation throughout your home is important, as this can help reduce moisture and prevent mold growth. Be mindful of damage restorations needed for any areas affected by water or mold.
Perform regular maintenance tasks along with inspections. Clean gutters and downspouts to avoid water buildup and check for leaks in plumbing or roofing. If you find any issues, address them promptly to reduce the risk of mold development.
Consider keeping a log of your inspections and maintenance actions. This record can be invaluable if you ever face a mold problem, allowing you to track patterns and identify recurring issues. With a proactive approach, you can keep your home free from mold and maintain a healthy living environment.
Frequently Asked Questions
How Long Does a Typical Mold Inspection Take?
A typical inspection usually takes about one to three hours, depending on the property’s size and complexity. You’ll want to ensure thoroughness to get accurate results, so don’t rush the process.
Can Mold Grow in Cold Environments?
Yes, mold can grow in cold environments, especially with moisture. You might not notice it immediately, but maintaining proper ventilation and controlling humidity levels can help prevent mold growth, even in cooler temperatures.
What Are the Health Effects of Mold Exposure?
Mold exposure can cause several health issues, including respiratory problems, allergic reactions, and skin irritations. You might experience symptoms like sneezing, coughing, and headaches. Addressing mold issues promptly is important for safeguarding your health.
Is Mold Testing Necessary if Visible Mold Is Present?
If you see visible mold, testing is often not necessary. Instead, you should focus on safely removing it. Testing can help identify hidden issues and potential health risks, so consider it if you’re concerned about your environment.
How Often Should I Schedule Mold Inspections?
You should schedule inspections at least once a year, especially after water damage or if you notice musty odors. Regular checks help catch potential issues early, ensuring your space stays healthy and mold-free.


